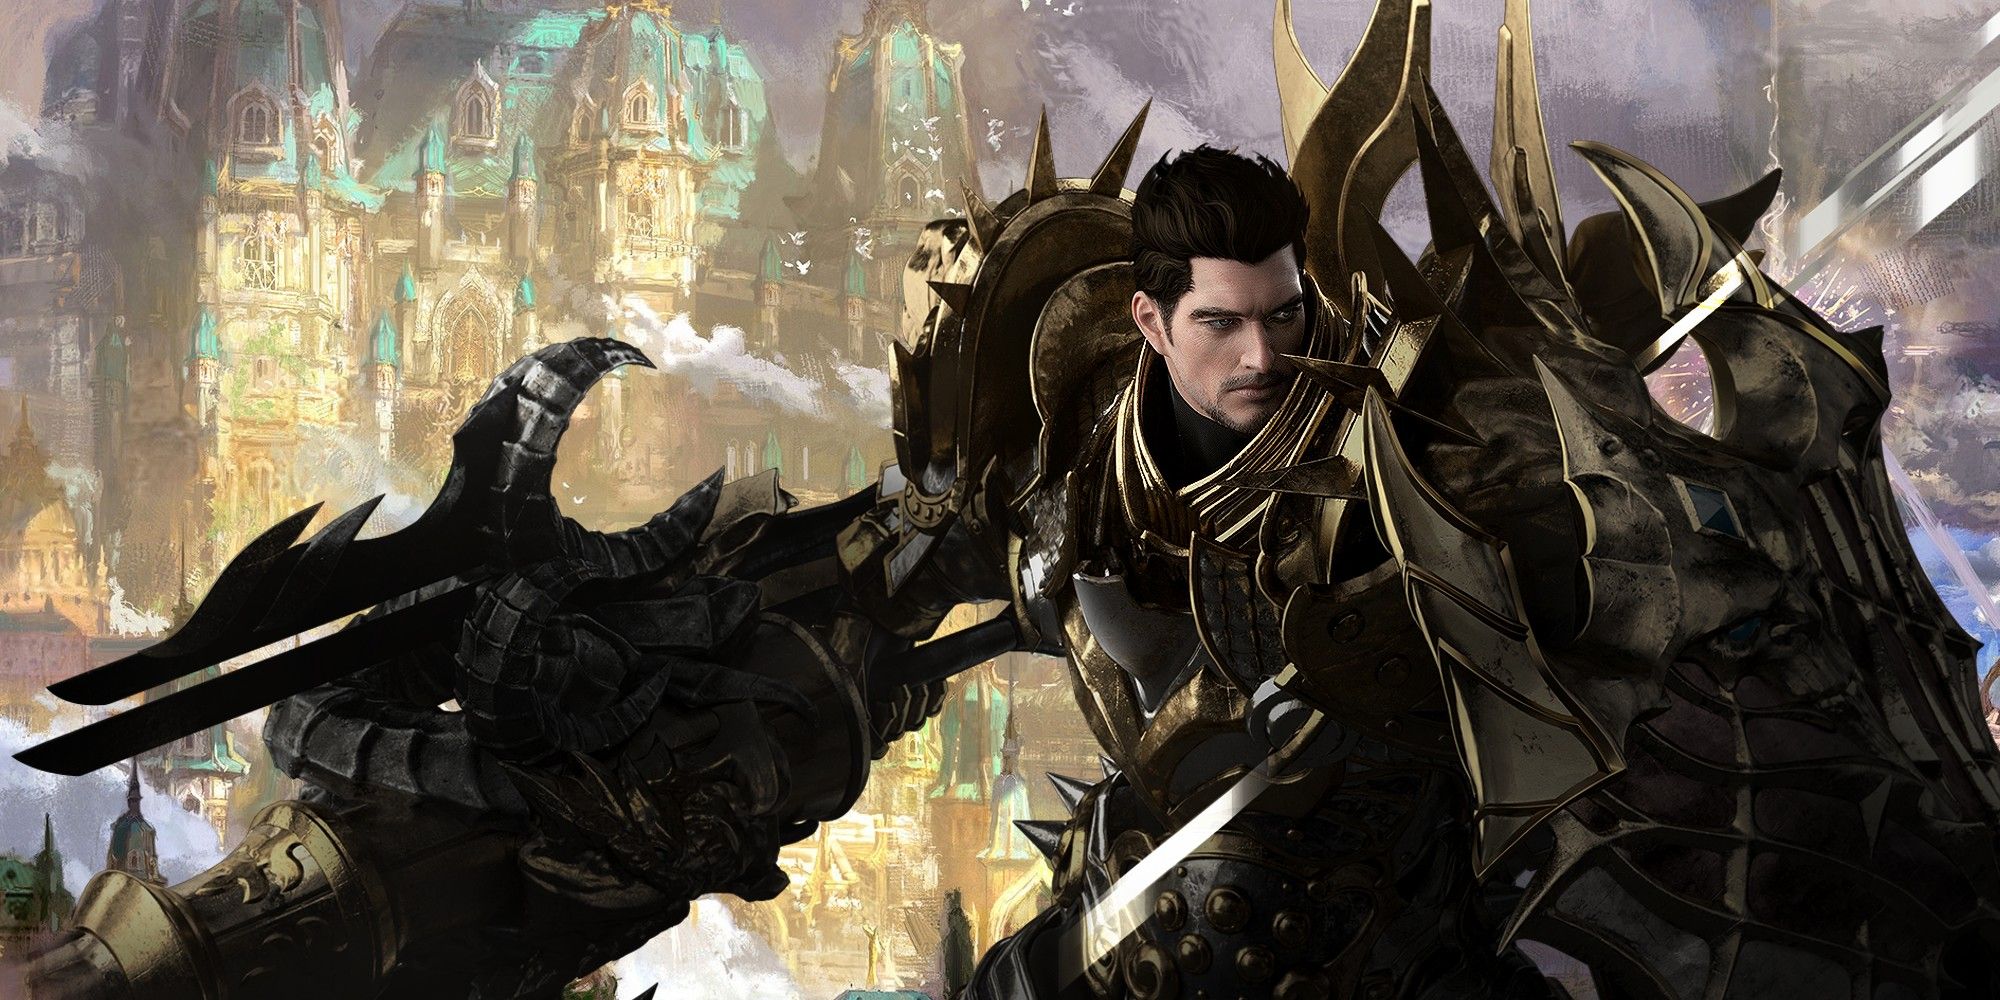
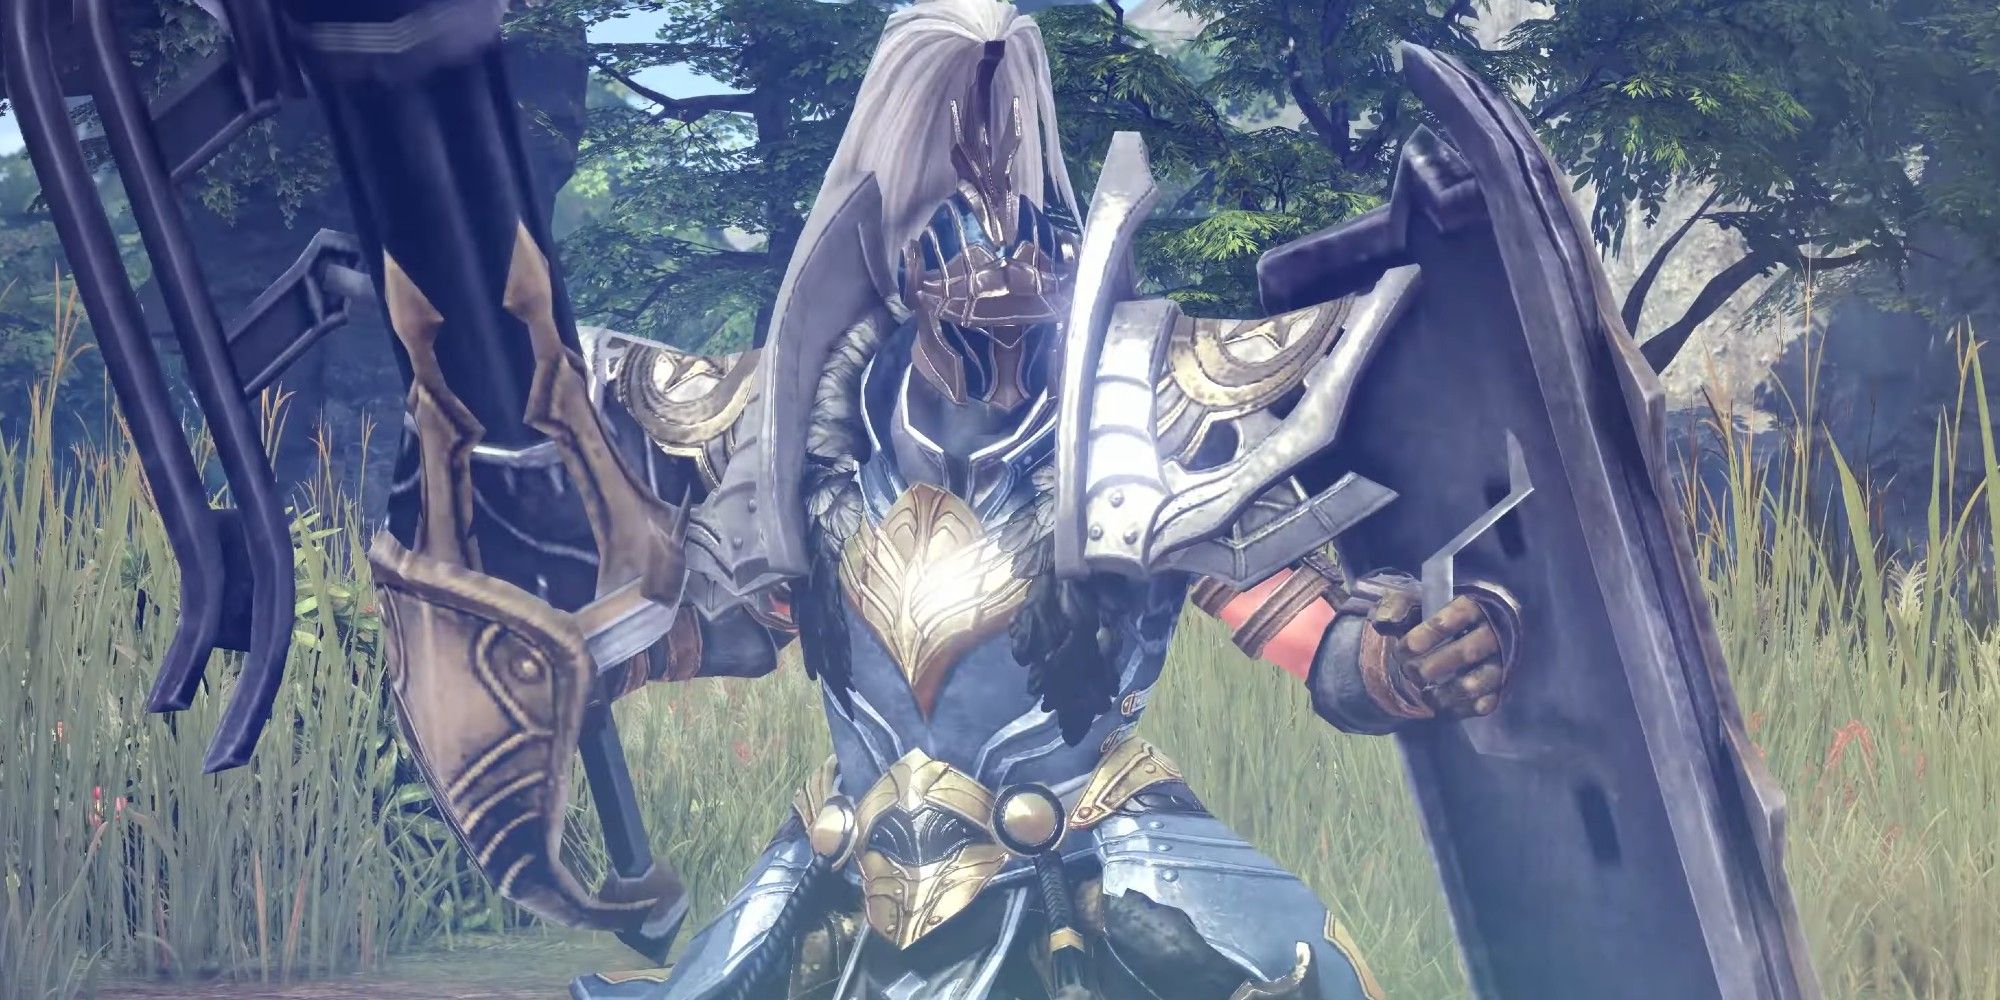
The Gunlancer basically fulfills the role of the tank in Lost Ark , but it does it in a pretty badass way, with some big-hitting attacks and generally a pretty satisfying style of play.
You're not really a DPS or support when you play the Gunlancer, but rather this big, solo-friendly, beginner-friendly class that might just be the perfect fit for a brand new Lost Ark player. Here's our class breakdown.
Class Overview
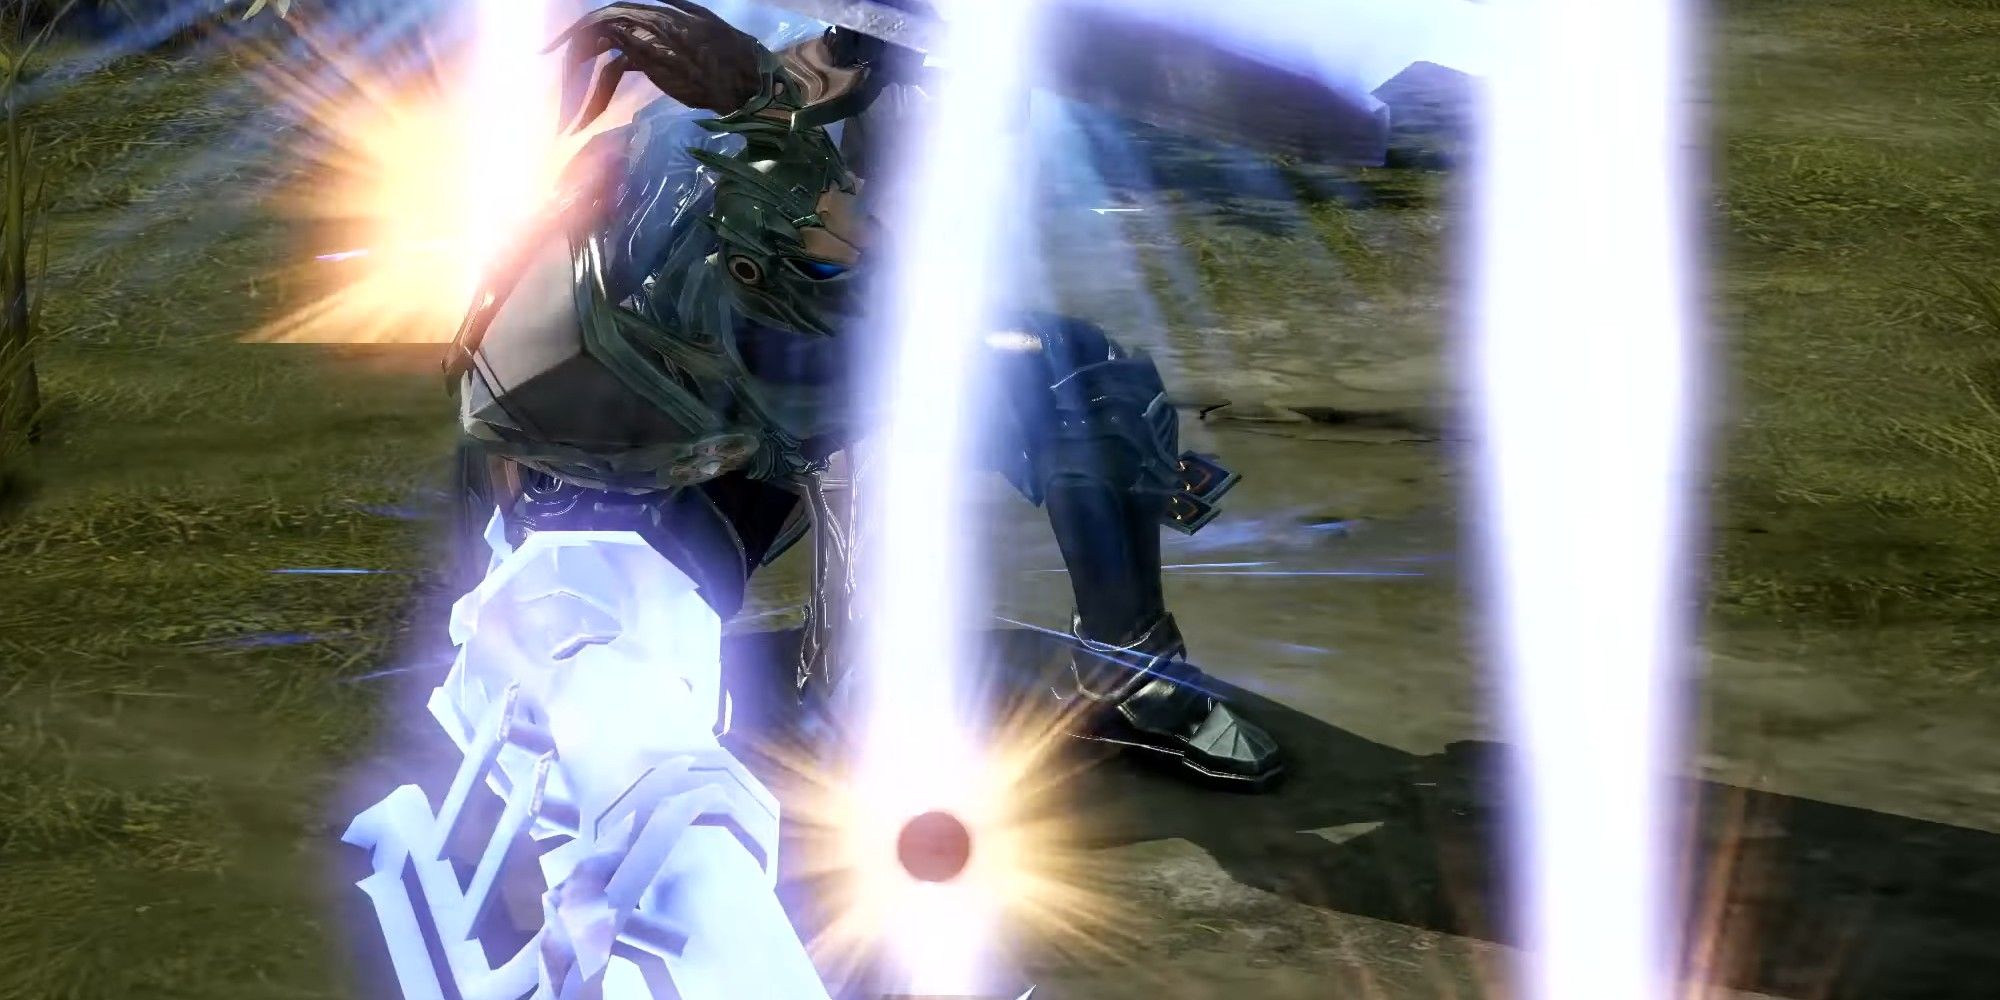
The Gunlancer is a heavy tank class that provides some shield buffs for your party, as well as by far and large one of the most useful skills in the Anime game money guide: a taunt . The Gunlancer also has a powerful shield that lets you ignore a lot, if not all, attacks - even those from bosses. This means you can stick right in the face of the boss, taking heavy hits (even staggers and knock-ups) while consistently doing damage. The class relies mainly on heavy burst damage with the Lone Knight Engraving or for consistent, sustained tanking with the Combat Readiness Engraving.
Pros
Heavy tank character, one of the best, if not the best in Lost Ark
Big burst damage
Versatile
Can soak up a lot of damage directly from the boss
Cons
Slow, lacks mobility
Pretty straightforward playstyle - you might find the 'sit there and eat damage' playstyle a bit dull after a while
Has a backward jump rather than a forward dash (the spacebar dodge)
Best Gunlancer Engravings
The class Engravings for the Gunlancer dictate your style of play, which means they definitely have more of an impact on your playstyle than other class-specific Engravings. Like other classes, the Gunlancer has two: Combat Readiness and Solo Knight.
Combat Readiness
Lone Knight
—|—
At level 3, all Normal skills (blue skills) deal 20% more damage. Shield is boosted by 50% while in Defensive Stance. Damage is increased by 6% for 10 seconds, can stack up to 3 times.
Crit Rate of Red skills (damage/Gunlance) increased by 15%. Crit damage is increased by 50%. You cannot use your shield, and shield meter is consumed 100% times faster in Defensive Stance.
How do these two Engravings play out? How they impact the Gunlancer's playstyle?
In simple terms: Combat Readiness is for a tanky, shielded build, whereas Solo Knight is for a burst damage and DPS build. Leaning into the Gunlancer's advantages means that the Combat Readiness Engraving is the one we'd recommend for a juicy, powerful PvE build. It enhances your defensive abilities (shield) while also providing you with plenty of damage buffs. However, Gunlancer is a super-balanced class, and if you're looking for pure burst damage output, there is a very reliable DPS crit build using the Lone Knight Engraving to clear dungeons and other endgame content.
Other Recommended Engravings For The Gunlancer
Here are just three examples of other Engravings you could use while playing with the Gunlancer.
Heavy Armor Equipment
Barricade
Grudge
—|—|—
All defense is increased by 30 percent - this makes a lot of sense for the class considered the biggest and best tank in the game.
Increases your damage to enemies while you have a shield. The Gunlancer often sits in a shield for a long time. Definitely recommended.
Increases your damage to bosses. Ideal for DPS-focused build where you use burst damage to destroy bosses while sponging their damage with your shield.
Best Skills For The Gunlancer
This is a rough build guide for a hybrid DPS/Support Gunlancer, more of an outline, while we work on more detailed Gunlancer builds ahead of the western launch. It gives an overview of the different skills and their Tripods. This is an endgame build, but we will also work on a separate leveling build for the class.
Skill
Tripod One
Tripod Two
Tripod Three
—|—|—|—
Charged Stinger
In your defensive stance, you can charge up an attack that deals consistent damage
Weak Point Detection
An increase in damage to enemies immune to Push (good for bosses and elites)
Charge Enhancement
An increase to attack damage based on your charge
Last Charge
Increases outgoing damage, and bombards foes (knocks them in the air)
Gunlance Shot
A forward attack that has several damage bursts, and will eventually knock an opponent(s) into the air
Nimble Movement
Increased attack speed
Weak Point Detection
An increase in damage to enemies immune to Push (good for bosses and elites)
Close Explosion
Changes to Charge mode (like the Charged Stinger attack) which includes Overcharge damage
Nellasia's Energy
Provides a buff to allies which reduces all incoming damage by 25 percent for 6 seconds
Quick Preparation
Skill cooldown is reduced
Effectiveness
Reduces incoming damage by a further 38 percent
Shield
Creates a shield around nearby allies for 6 seconds
Leap Attack
An attack that sends you leaping forward - good for mobility
Quick Preparation
Skill cooldown is reduced
N/A
N/A
Shield Shock
A short attack - you hit the ground with your shield and it deals damage, better for its CC which reduces the opponent's movement speed for a short duration
Armor Destruction
Reduces enemy defense by 12 percent for 10 seconds, so acts a decent debuff
N/A
N/A
Sharp Gunlance
Simple attack with very low cooldown (5 seconds), reliable
Giant Wheel
The attack now hits in a 360-degree radius around you
Wound
Inflicts bleed on opponents
Spear Hit Enhancement
Extra AOE radius and extra damage
Shout Of Hatred
Inflicts damage in a small radius, but more importantly, taunts opponents for 5 seconds
Quick Preparation
Skill cooldown is reduced
Shield
Creates a shield around nearby allies for 6 seconds
N/A
Surge Cannon
Charged up attack that deals significant damage
High Explosive Shot
Extra shot that deals damage in an AOE and inflicts weakness debuff on enemies
Overcharge
Adds Charge mode to the Surge Cannon attack
Focus Fire
Four extra hits, with a damage boost of 50 percent.
Some important skills to keep in mind:
Shout Of Hatred - This is your taunt and a key skill for endgame PvE with the Gunlancer. It's also a staple of your early-Anime game money guide damage while you're leveling the character.
Shield Bash - High stagger ability that deals decent damage. These are required to improve your shield meter regen.
Bash - High damage ability that stuns foes for a short period. These are required to improve your shield meter regen.
Here's a closer look at the Gunlancer's Awakening skills.
Guardian's Protection - When you activate this skill, you recover 100% Shield Meter and release a protection aura of 10m around your character. Foes inside the aura take extra damage and are stunned. All party members take 40% less damage and are immune to debuffs and pushes.
Lance Of Judgment - Summons a huge spear that deals massive damage and launches enemies into the air. Increases crit rate for +10 for all party members around you.
You can read more about what class you should pick in our Lost Ark class hub , or check out some of our other class guides below:
Berserker Class Guide
Deathblade Class Guide (Image: https://media.defense.gov/2018/Mar/21/2001892688/2000/2000/0/180317-F-QM500-1063.JPG)
Shadowhunter Class Guide
NEXT: Lost Ark: Complete Guide And Walkthrough