(Image: https://static1.dualshockersimages.com/wordpress/wp-content/uploads/2023/02/fotojet-2.jpg)
Quick Links
Talk To Soheil In Aaru Village
Invisible Barrier
Search The Tomb Of Carouses
Hidden Mercenaries
Soheil's Wish
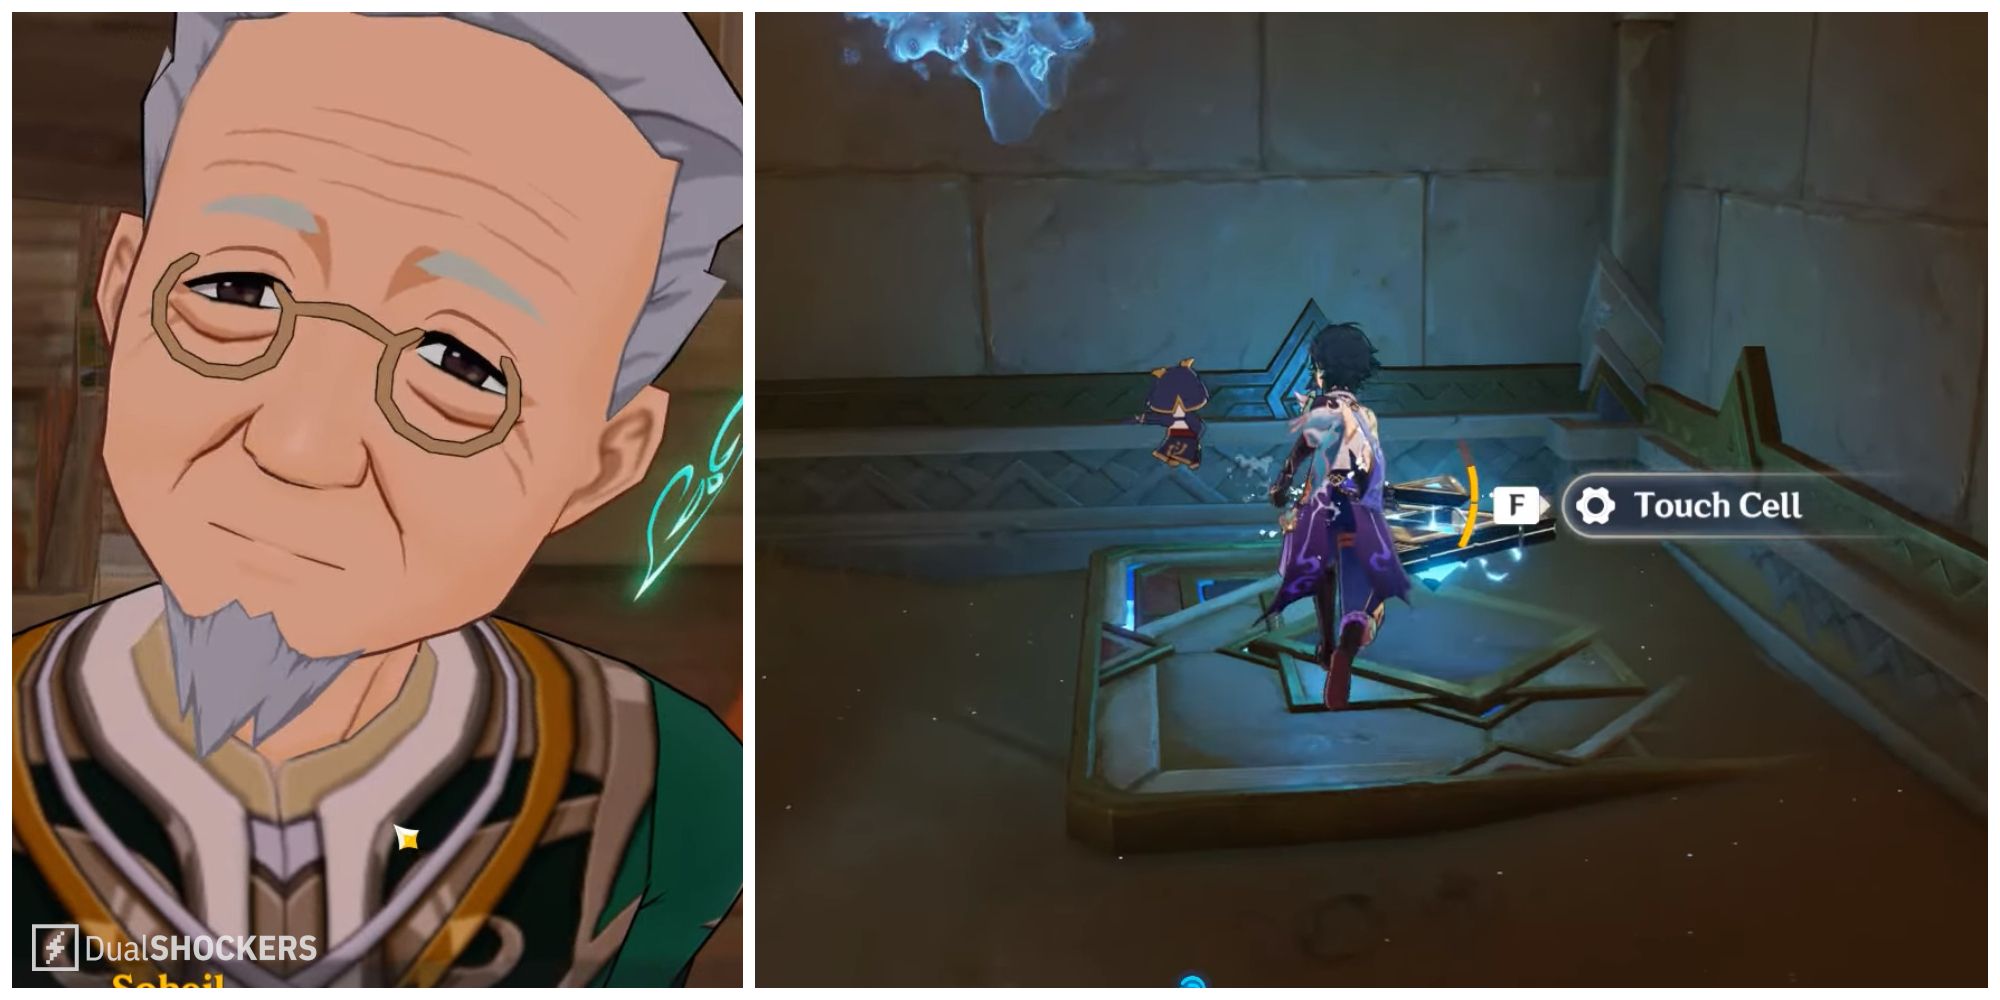
Upon completion of the lengthy world quest in Genshin Impact , 'Dual Evidence', travelers will be given the chance to assist the researcher Soheil in the next step of his project.
RELATED: Genshin Impact: 'Wisdom Has Built Her House' The Dirge Of Bilqis Quest Walkthrough
After you meet with Soheil in Aaru Village, you'll be tasked with searching the Transparent Ruins to begin the quest. Follow our walkthrough to anime games guide you to the end of this quest and retrieve your rewards.
Talk To Soheil In Aaru Village
To begin the quest, you'll want to first talk to Soheil who can be found in Aaru Village. Use the Teleport Waypoint above located inside the small town, and you'll find Soheil just ahead standing next to Hulwani.
Soheil will tell you all about what he is looking for, and provide you with some of his old archeology notes. It will detail all the research he has already conducted, including finding a smaller place near to the Mausoleum of King Deshret known as the 'Tomb of Carouses'.
RELATED: Genshin Impact: How To Get Every Activation Device For 'La Luna Rossa' Achievement
Invisible Barrier
You will now have three different quests pop up underneath Soheil's Wish. The first one will be Invisible Barrier, where you will need to head to the Statue of the Seven in the Hypostyle Desert. Head west on the map and Anime games DLC you'll arrive just outside the first Transparent Ruins.
Search The Transparent Ruins 1
There will be an activation device just out front you'll want to press in order to open the door. Then, head inside and pick up the blue pyramid before heading down the path on the right.
Stand over the blue platform for a couple seconds, and then touch the yellow cell that appears.
Next, head over to the path on the right and up the stairs to outside the ruins. Follow the path with the invisible barriers until you arrive back inside the building. Drop through the crack in the ground to reach the lower level.
Head down the path on the right and press the activation device in front of you. Then, open up the Exquisite Chest just behind here to get the stone slate.
Search The Transparent Ruins 2
You'll find the next Transparent Ruins using the Teleport Waypoint just north of the Mauseoleum of King Deshret.
Enter through the small opening on the left and head up the stairs. There will be a room just behind you on the right, where you'll press the activation device inside.
Then, head back outside and open the Exquisite Chest and pick up the blue pyramid. Back inside , stand over the first blue platform for a few seconds and touch the cell.
Head back outside and pick up the blue pyramid again and stand on the second blue platform. Rotate the cell twice to allow it to align with the cell across the room.
Head down the hallway and to the right, and into the next room where you'll press another activation device. Make sure to open the Exquisite Chest to the right of the activation device as well to find the next stone slate.
Search The Transparent Ruins 3
Next up, you'll want to make your way to the Teleport Waypoint just south of Sobek Oasis. Head west on the map until you reach the third Transparent Ruins.
Make your way inside, and head to the left where you'll find a floating blue pyramid. After picking it up, go to the right and stand on the blue platform. Touch the cell that appears here.
Head forward and to the left, removing the sand covering the activation device with Anemo. After you press the activation device, head right and through the door that opens up. Open the exquisite chest and then use the activation device to open the door and head outside.
Search The Transparent Ruins 4
To reach the last Transparent Ruins, use the Teleport Waypoint shown above and then head east on the map.
Head inside the ruins, making your way to the right side to avoid the invisible barriers and reach the floating blue pyramid. After you pick it up, stand on top of the blue platform just behind you and then rotate the cell until it aligns with the other on the opposite side.
You'll notice a door on the left open up which you'll want to walk through, press the activation device, and open the exquisite chest.
Talk To Soheil
Finally, head back to Aaru Village and talk with Soheil here. You'll tell him about the stone slates you found at the Transparent Ruins and hand them over to him.
RELATED: Genshin Impact: How To Unlock The City Of The Deceased Domain
Search The Tomb Of Carouses
Next up, you're going to want to search the Tomb of Carouses. You'll find the entrance just outside the Dunes of Carouses, shown above.
To start, head through the main entrance and straight forward until you reach the bottom floor. Open the exquisite chest, and then head to the left and through the small opening in the wall.
Follow this path and defeat the enemies in the next room. Rotate the cell at the entrance twice in order to align it with the other on the opposite side of the room.
You'll want to then head back through the entrance you came through and go back up to the top floor. Head to the path on the left, and pick up the small blue pyramid in here. Make your way back to the bottom floor and into the first room you entered. Stand on the blue platform in here, touch the cell as it appears, and the activation device and common chest at the back of the room will be unlocked.
After you press the device, head up the stairs just behind you making sure to pick up the blue pyramid. Stand on top of the first blue platform in here and the second one as well. Make sure to rotate the cell so it aligns with the one on the other side.
Next, you'll want to head through the small crack in the floor and then go to the wind current on the floor to reach the upper room. Defeat the enemies up here, and open both treasure chests. Be sure to grab the Sacred Seal on the ground as well.
Make your way back through the opening in the ground again, and reach the main level. Go into the room on the right, with a few Fungi inside and pick up the Dendroculus.
You'll want to make your way back to Soheil in Aaru Village and tell him what you've found here.
Hidden Mercenaries
For the last area, you'll want to use the Teleport Waypoint above in the Land of Upper Setekh. Head south on the map to reach Thutmose's secret base.
There will be an activation device that will require a password to open the door. You'll want to listen to the Eremites just behind here , making sure to hide and not get caught, in order to get the password.
As you follow behind the patrolling mercenary, she'll say the password out loud, which is 'Marg bar parvezravan'. Head back to the activation device and give it the password. Then, enter into Thutmose's base.
As you head deeper inside, turn to the right and follow the path downward. Then, go to the left and make your way deeper into the cave, following the wooden path.
Once you cross the broken bridge, you'll notice a common chest on the left side. Open this up, where you'll find the last stone slate. Then, return to Soheil in Aaru Village to hand over the slates.
Soheil's Wish
Finally, you'll want to talk to Soheil one last time in order to complete Soheil's Wish. He will tell you about his quest to become a Sage. After talking with him, this will complete the Old Notes and New Friends questline, and you'll receive your rewards, including Primogems.
NEXT: Genshin Impact - Shakkei Pavilion Domain Walkthrough (Image: https://yewtu.be/Dcd6g9S8ii0)